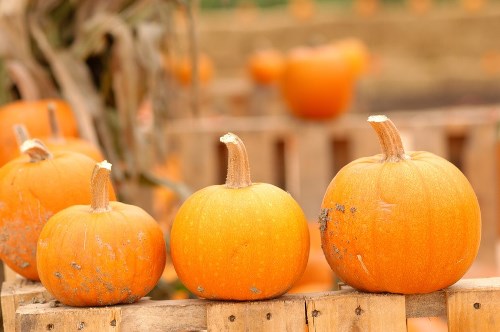
It is October, and it’s time to harvest not only pumpkins and apples, but also the sensory exploration this time brings. Have you ever broken down all the sensory input that the simple task of carving a pumpkin can provide? If you have the opportunity to go to a farm to pick your own pumpkin, take advantage of it. The experiences that you and your child will share stay with you forever.
Read on for all the ways a trip to pick your own pumpkin is sensational fun.
Pumpkin Carving Sensory Experiences
|
Senses |
At the Farm |
At Home |
|
Visual |
|
|
|
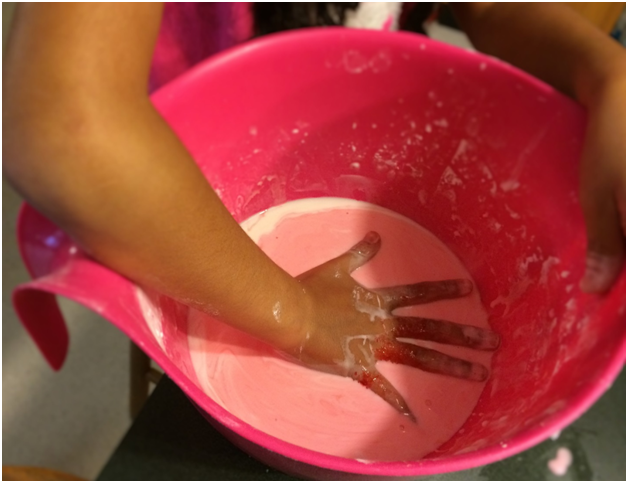
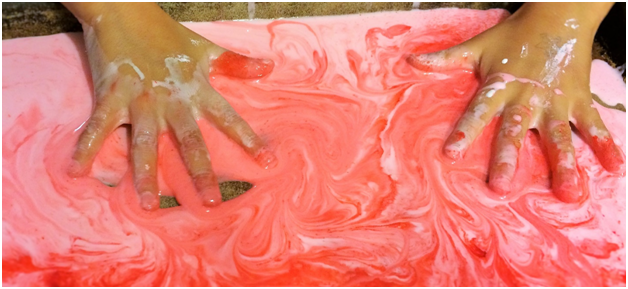
Tactile |
|
|
|
Auditory (hearing) |
|
|
|
Olfactory (smell) |
|
|
|
Proprioceptive |
|
|
|
Vestibular |
|
|
|
Gustatory (Taste) |
|
|
Pumpkin Seeds Recipe
- Separate the seeds from the pulp.
- Rinse and dry the seeds (sometimes they have to dry overnight).
- Preheat the oven to 250 degrees F (120 degrees C).
- Spread pumpkin seeds in a single layer on a baking sheet. Sprinkle to taste with the seasonings of your choice. For sweet seeds use Cinnamon, nutmeg and brown sugar, for salty seeds use garlic powder, salt and pepper.
- Toast for 45 minutes, stirring occasionally, until dry and toasted. Larger seeds may take longer.
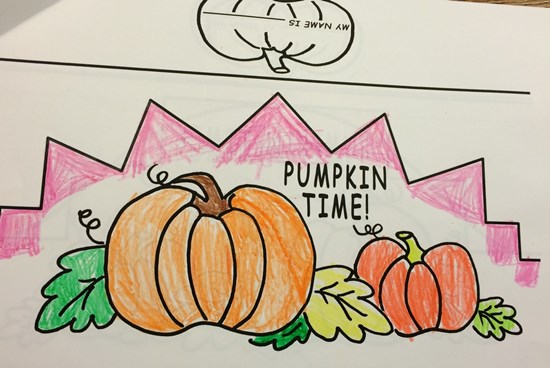
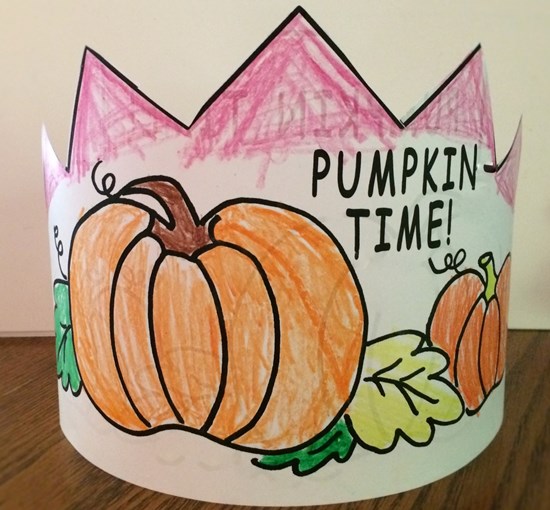
For more seasonal activities get Therapro’s Hats Off and On to Scissors Skills– you get to practice scissor skills and make hats for every season. Below are pictures of a Pumpkin Time Hat.
Also see our seasonal writing readiness workbooks and our Pre-writing curriculum enrichment series!
Please share other ideas and ways you can have sensational fun this fall.