Category Archives: Activities

Therapro’s Free Activity of the Month: Marble Painting

Marble Painting – Abstract Art and Bilateral Coordination: a winning combination!
By: Diana V. Mendez-Hohmann

Bilateral coordination refers to the action of using the right and left sides of your body together in a smooth and efficient manner. Babies develop bilateral coordination first by stabilizing an object such as a pail while filing it with sand. (From Rattles To Writing; A Parent’s Guide to Hand Skills by Barbara A. Smith, MS, OTR/L)

When someone has difficulty with bilateral coordination, they can have difficulty with daily tasks. Think of everything you do using both sides of your body together; Dressing, tying shoes, buttoning, drawing, writing, catching and throwing even crawling and walking.

This month’s activity is Marble Painting will get you to practice bilateral coordination. See below for all the steps.

You will need:

  1. Finger-paints
  2. Paper
  3. Marbles
  4. Card Board Box top, Large Shoe Box, or back of frame.

Process

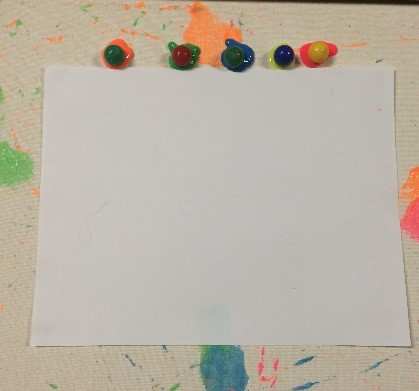
  1. Tape the paper to the inside of the box, or frame.
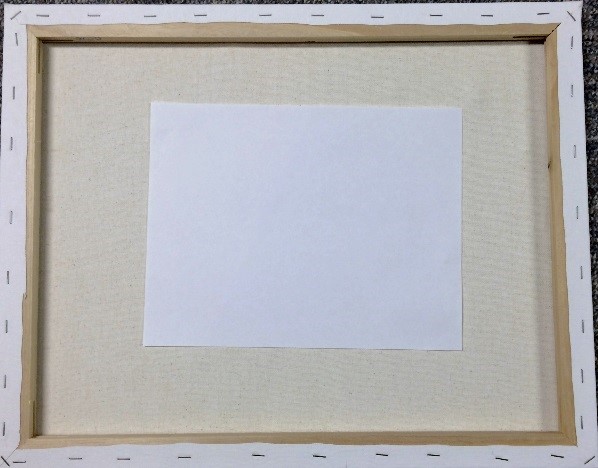
    marble_painting1
  2. Place a dollop of paint on either side of the paper. I used 4 colors.
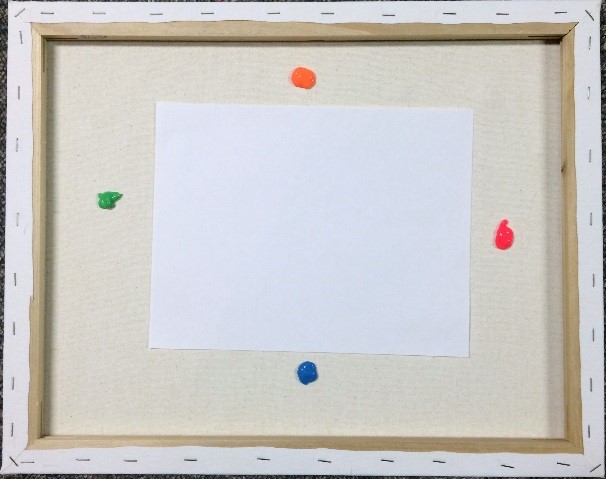
    marble_painting2
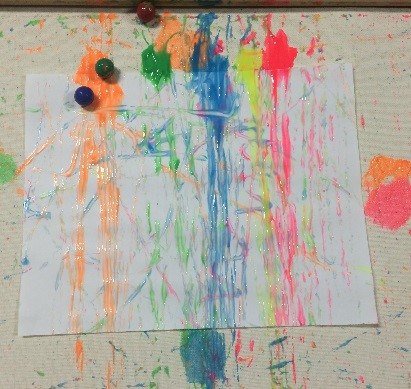
  3. Place a marble on each dollop of paint.
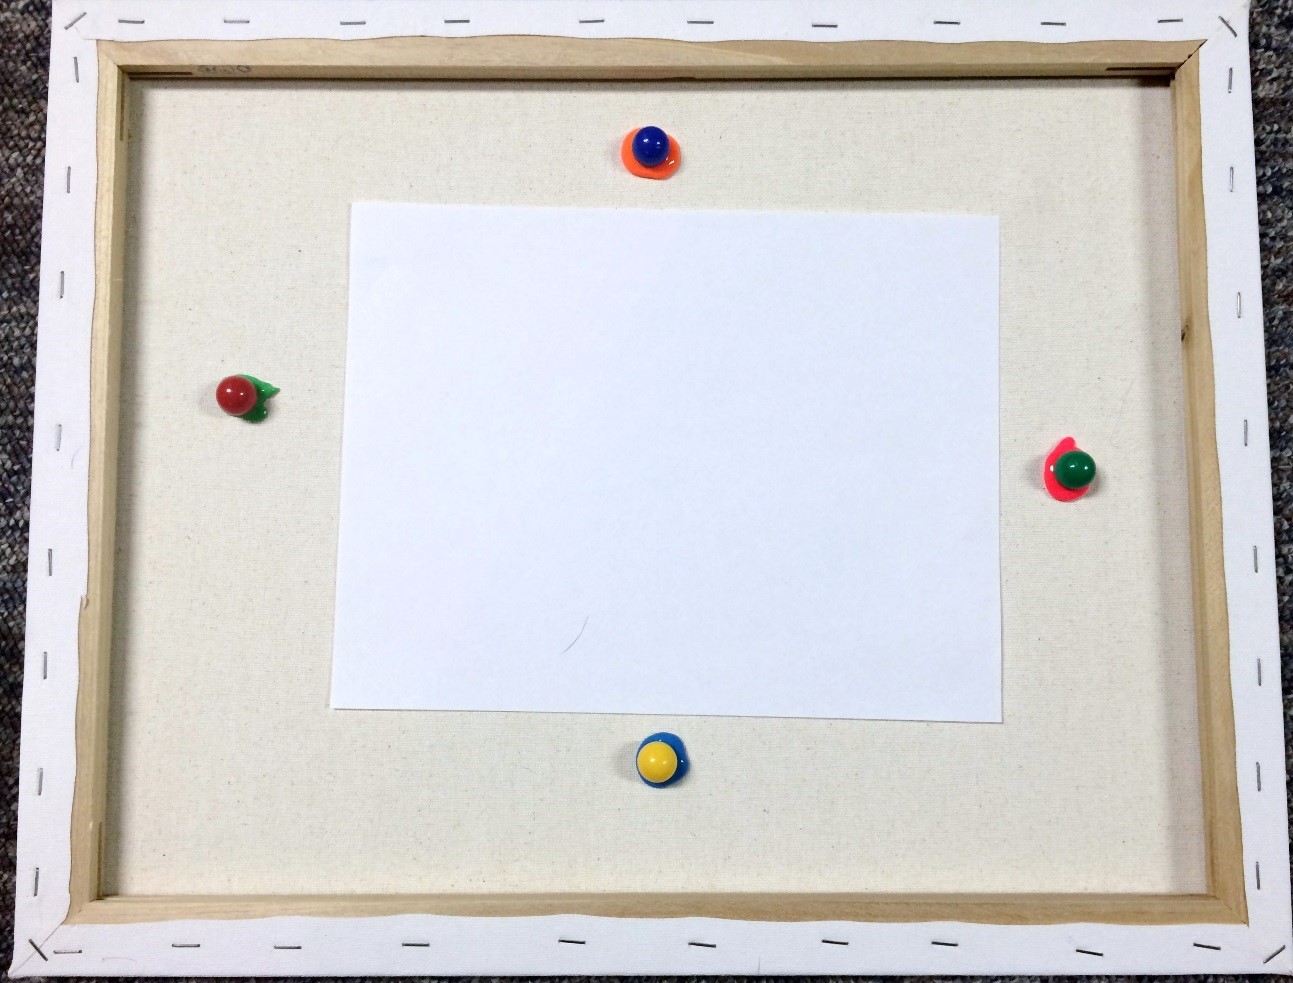
    marble_painting3
  4. Using both hand hold the box and move the marbles over the paper.
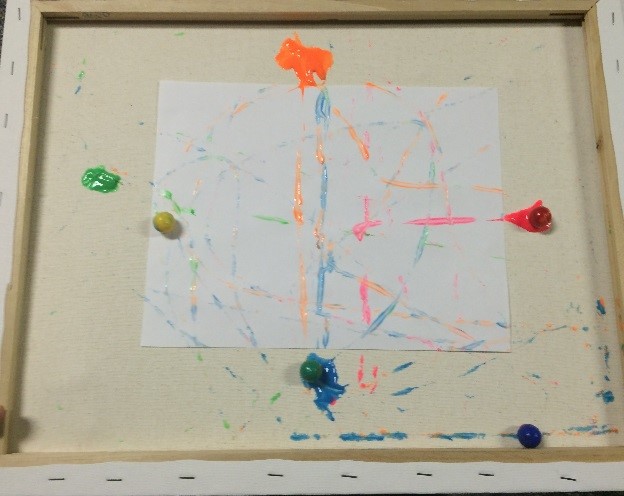
    marble_painting4
  5. Continue to move the marbles until the paper is covered with paint or you are satisfied with the design.
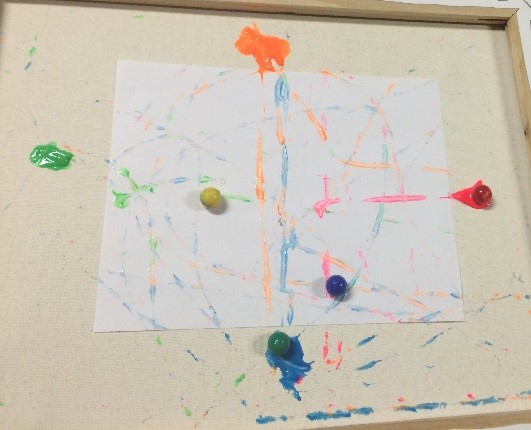
    marble_painting5
  6. Remove paper and set aside to dry.
    marble_painting6
  7. Start all over again- See how many marbles you can use.

Other Ideas

  1. This is a great activity for anyone who does not like to get messy as they really don’t have to finger paint. They are just moving marbles around in a box.
  2. Have 2 children do the activity, each child holds one side of the box.
  3. Use different sized marbles.
  4. Use more or fewer colors.
  5. Change the placement of the paint.

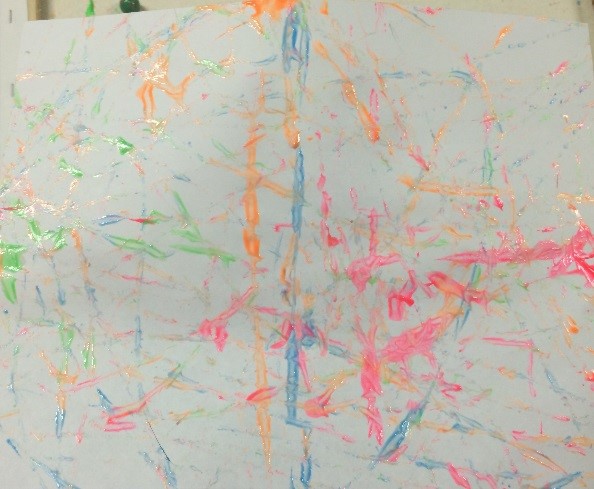
marble_painting7

marble_painting8
Send us a picture of your Marble Painting, or post it on Facebook, Pinterest or Twitter with the hashtag #Therapro

Therapro’s Free Activity of the Month: Math Fact Moves

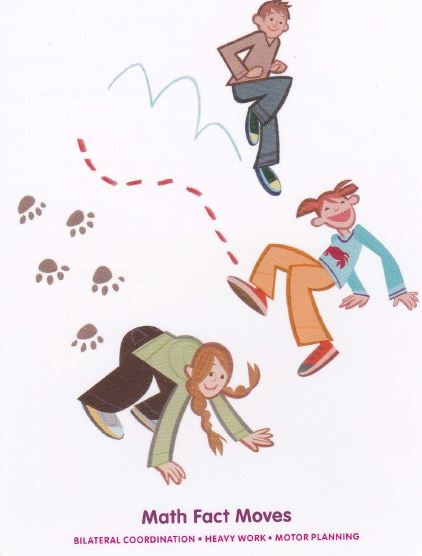
No arts and crafts for this month’s activity; we want you to get outside and show us your moves! This month we are moving and learning, our activity comes from our Drive-Thru Menus Body Challenges cards.

Drive-Thru Body Challenges are meant to be used in the K-5 elementary classroom; the cards are designed to help teachers incorporate movement into foundation skills such as literacy, math, science and social studies.

Each of the 25 cards provides a script for leading students through the Body Challenge and several suggested Academic Challenges for teaching and reinforcing the curriculum.

math_fact_moves1math_fact_moves2

Math Fun Facts Moves

Directions

  1. Instruct the group to stand against the wall, side- by-side.
  2. Ask a math question. (Tell the group to raise their hand if they know the answer)
  3. Pick a student to answer the question.
  4. If the answer is correct assign them a “move” (skip, hop, jump, twirl, etc.)
  5. The student will “move” towards the other side of the room and they sit and wait for the other students.

Math Facts

Practice math facts. If the problem is 10 minus 6 the students “move” 4 times. Provide other math challenges using math fact families (4+1, 4+2, 4+3, and so on).

Moving in Pairs

Have children work in pairs. For example, if the problem is “2+3” one child jumps twice and the other jumps three times. Together they jump the answer of five.

Show Us Your Moves!

math_fact_moves3

Take this body challenge outside to practice math emphasizing gross motor movements. Try some of these moves:

  • Hopping on one foot
  • Jumping with two feet
  • Giant Steps
  • Twirls
  • Side Stepping
  • Army Crawling
  • Walking Backward
  • Heel-Toe Steps
  • Tip-Toe Walking
  • Stomping
  • Marching
  • Scissor Walking
  • Skipping
  • Crab-Walking

Therapro’s Free Activity of the Month: Watch them bloom with this Sensory Flower!

By: Diana V. Mendez-Hohmann

Working on arts and crafts provides opportunities to incorporate different skills. Normally we look for the practice of physical skills such as:

Bilateral Integration- The ability to use both sides of the body together in a smooth and coordinated manner.

Eye-Hand Coordination- The efficient teamwork of the eyes and hands.

Motor Planning- The ability to conceive, organize, sequence and carry out an unfamiliar body movement in a coordinated manner.

Fine Motor- Refers to movement of the small muscles of the fingers.

But what about the “invisible” skills? Skills like sensory feedback and perception. Prior to working on a craft, break it down and analyze all the ways your child will incorporate skills- visible and “invisible”.

The smells, sounds and feels of a craft are a huge part of the process. Use the opportunity to encourage exploration and introduce new sensations.

Prepare for the activity

You will need:

  • Glue dots
  • Glue
  • Scissors
  • Dessert size paper plates
  • Scented Markers
  • Foam Stickers (or your decoration of choice)
  • A shoe box or Canvas frame
  • Scarf Hanger (in shape of flower)

Assorted Textures (your choice, below is what we used):

  • Fuzzy Fabric
  • Sponge
  • Pom Pom Balls
  • Shredded Paper
  • Ribbon
  • Sand Paper

Steps

  1. Cut a hole a slit the top of the frame in the center.
  2. Place scarf hanger in the back of the canvas frame, and pull hanger through slit.
  3. Use glue dots to secure the scarf hanger in canvas.
  4. Use the scented markers to color the areas that won’t have texture.
  5. Cut dessert plate in half and roll, use glue dots to affix. Wrap fuzzy fabric on the small roll, use glue dot to affix. Repeat this step for any texture that needs to be rolled such as the ribbon.
  6. Glue the sponges in the next empty space.
  7. Cut a piece of the paper plate to fit a large space and blue it in the next space available. Glue pom pom balls into this. Repeat this step for small shapes and textures that need to be glued in place such as the shredded paper.
  8. Roll sand paper to fit a large space and glue it in the next space available.
  9. Use half of dessert plate and roll, use glue dots to affix. Wrap ribbon on small roll, use glud dot to affix. Place rolled ribbon in the last large space.
  10. Cut a piece of the paper plate to fit the center space and glue it in. Glue small pom pom balls into this.
    Decorate around the flower as desired.

Don’t forget to make it a multi-sensory experience.

  • Go outside for a spring nature walk.
  • Sing songs or nursery rhymes about flowers. (Mary Mary Quite Contrary, Ring Around the Rosie, The Mulberry Bush)
  • Have your child smell different flowers.
  • Make a small indoor garden.

Send us a picture of your Sensory Flower, or post it on Facebook or Twitter with the hashtag #Therapro