Category Archives: Fine Motor

Therapro’s Free Activity of the Month: Have a Hoot with Fine Motor Skills

By: Diana V. Mendez-Hohmann

Enhance fine motor skills and have fun learning about owls while you make this simple craft. With this easy craft your child will:

  • Practice scissor skills
  • Trace different shapes
  • Use both hands (bilateral coordination)
  • Cross the midline

Materials

  • 2 Sticky Back Foam Sheets or Felt
  • 2 Buttons
  • Glue
  • Scissors
  • White Paper for the pattern
  • Markers

Step 1

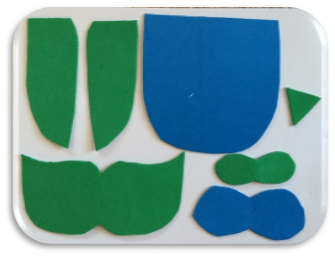
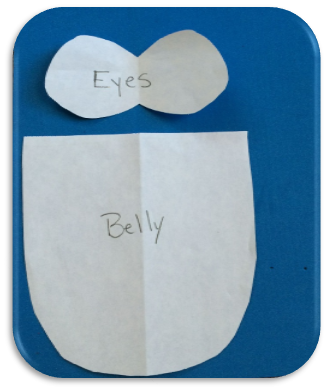
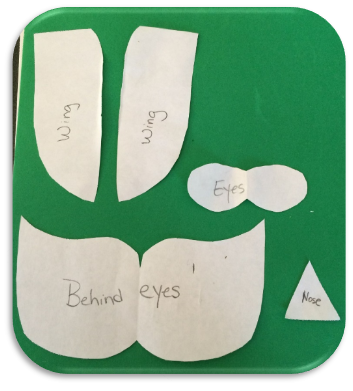
Draw the pattern on white paper.

Cut the pattern shapes.

Place the shapes on the sticky back foam sheets. Use at least 2 different colors.
haveahoot01haveahoot02

Step 2

Cut the foam shapes
haveahoot03

Step 3

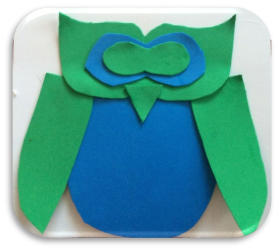
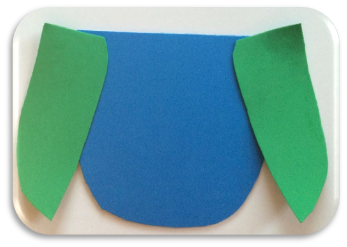
Peel the back of the wings and place wings on the belly.
haveahoot04

Step 4

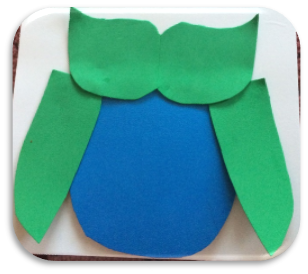
Peel the back of the behind the eyes area and place on the top part of the belly.
haveahoot05

Step 5

Peel the back of the large eyes and center on the top.
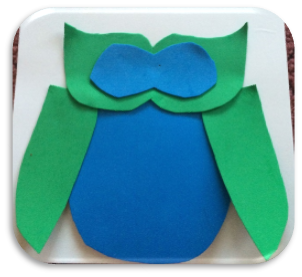
haveahoot06

Step 6

Peel the back of the small eyes and center on the top.
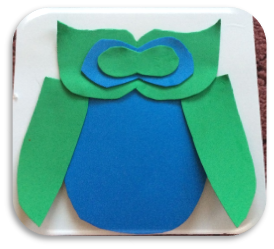
haveahoot07

Step 7

Peel the back of the nose and place under the eyes.
haveahoot08

Step 8

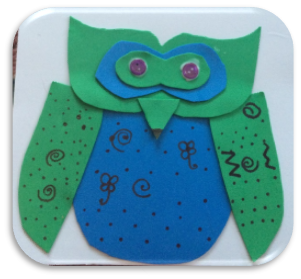
Glue the buttons to the center of the eyes.
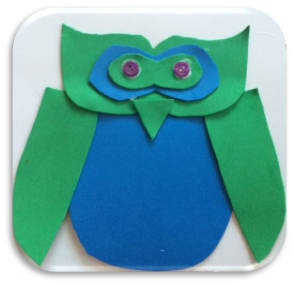
haveahoot09

Step 9

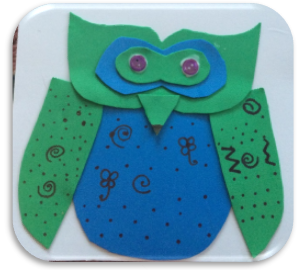
Decorate using the markers.
haveahoot10

Don’t forget to make it a multi-sensory experience.

  • What sound does the owl make?
  • Sing songs about owls or birds.
  • Have your child feel a feather.
  • Use different textures; combine foam and felt, or decorate with glitter.

Here is a felt owl we made using a heart for a nose. Send us a picture of your owl, or post it on Facebook or Twitter with the hashtag #Therapro
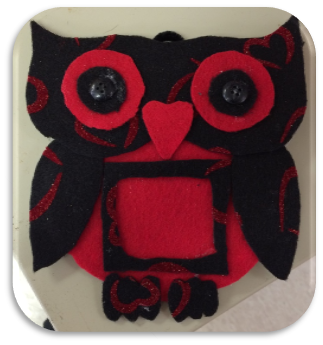
haveahoot11

Therapro’s Free Activity of the Month: Straws Galore

If you are looking for cost effective and easy to make fine motor activities, you need Therapro’s Second Hand Therapies cards. This set of 40 activity cards features stunning images of activities made from recyclable materials. What we love most about the activity cards is that they are easy to use and show you the difficulty level, the hand function used, and the materials needed. They are perfect for home use or for a classroom group activity.

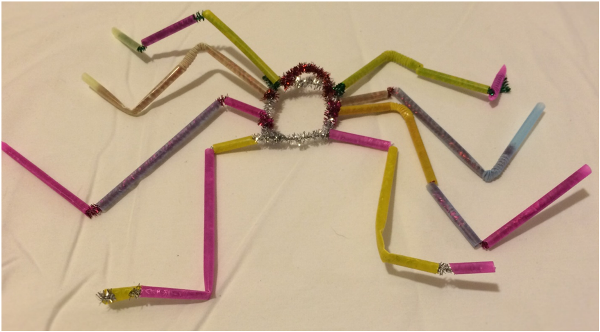
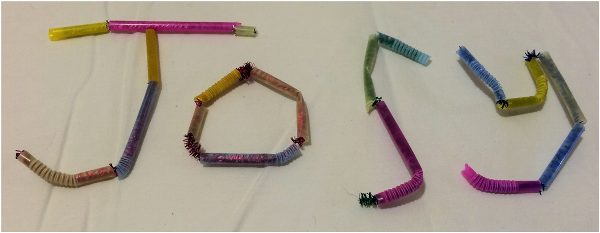
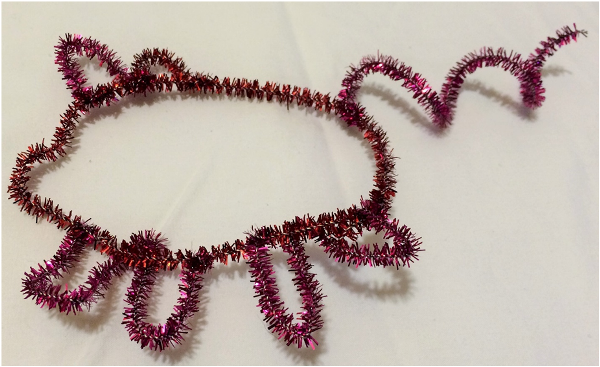
Below is a sample of Straws Galore, one of the activities in Second Hand Therapies.

When using straws to make jewelry, not only are the kids using fine motor skills, they are practicing their scissor skills, eye hand coordination, color recognition, size differentiation, counting, learning patterns, and so many more skills.

Materials:

  • Straws of varying sizes and colors
  • Yarn, pipe cleaners, or embroidery thread
  • Tweezers
  • Medium-Sized Bowls

Directions:

  1. Hold the straw with your non-dominant hand. Use your dominant hand to cut the straws into small to medium sized pieces. Collect the pieces in a bowl.
  2. String the straw pieces onto yarn or pipe cleaner as though they were beads.
  3. Practice removing the straw pieces using tweezers for pinch strength development.

Variations:

  1. Instead of jewelry make letters with the straws. Have the child spell his name.
  2. Get creative and make animal silhouettes.
  3. Give the child a challenge. What can you make with 3 pieces of straw?
  4. Sprinkle glitter on the bowl containing the straw pieces for an added color fest!
  5. Use different scissors, such as scrapbooking scissors for different edging on your straw pieces.

What did you make with your straws?
straws1
straws2
straws3

The Shoe Tying Club

shoetyingTeaching shoe tying is often not prioritized these days due to the advent of velcro and slip on shoes. Due to the frustrations experienced by their children, many parents tend to choose the easy way out buying shoes that do not require tying. Fast forward a year or two, parents find themselves frantically tying their second grader’s shoes on the sidelines of a soccer game or just before the bus. These parents are silently berating themselves for having given in earlier and are hoping for a miracle. First and second grade teachers are similarly frustrated when children arrive in their classroom lacking a skill that should have been learned in kindergarten. Deb Vozel, an intervention specialist at Cline Elementary School in Centerville, OH decided she needed to do something about it. Together with Bhanu Raghavan, OTR/L she started a shoe tying club to coach any second grader lacking shoe tying skills. The club turned out to be a resounding success!

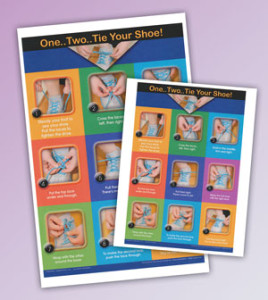
Shoe tying club met during the second quarter of school. The club members were chosen by their classroom teachers, and included both typical and children with special needs. The steps used for shoe-tying came from the poster One-Two Tie Your Shoe. This poster was adapted from the book Self-Care with Flair! The club members were placed in groups of four to five. They met daily before the end of their morning session. Mrs. Vozel and her aide led the club daily with weekly consultation from the OT. Club members practiced a few steps each week. Once a step was mastered they were introduced to the subsequent step. If a child had a particular difficulty with mastering a step the OT helped to break the steps down even further (activity analysis). At the end of the second quarter all the club members were successfully tying their shoes. Mrs. Vozel celebrated their success by giving each member a certificate and a copy of the poster One-Two Tie Your Shoe.

The nine easy steps in One-Two Tie Your Shoe are a convenient and quick way to teach this skill to any child. The laminated poster can be displayed in the classroom, on the refrigerator at home, in day-care centers and wherever young children are learning to tie their shoes.