Unlocking Independence With The Webber® Activities of Daily Living Tips and Teaching Companion & Photo Sequencing Cards
The Webber® Activities of Daily Living Tips and Teaching Companion and Webber® Activities of Daily Living Photo Sequencing Cards offer a fresh approach to teaching essential life skills and help you unlock your student’s potential for independence with self-care activities and routines that are vital for everyday life (i.e., activities of daily living).
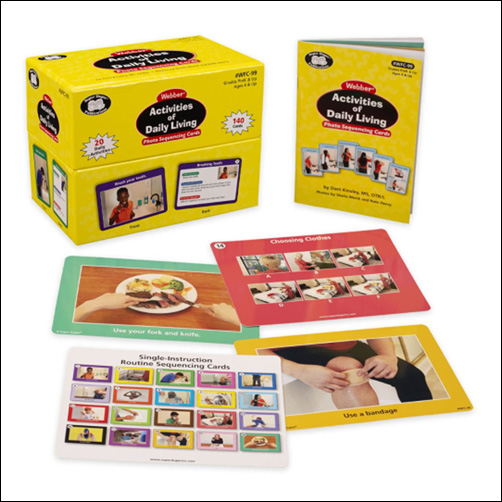
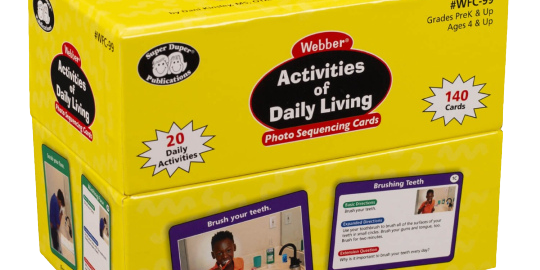
Discover a vibrant and innovative way to teach essential life skills with Webber® Activities of Daily Living Photo Sequencing Cards. Created by Occupational Therapist Dani Kinsley, the Photo Sequencing cards can be used with students from preschool through adulthood. Dive into 20 self-care tasks each meticulously broken down into 6 steps, offering a total of 120 daily activity cards. Real-life photos, accompanied by written and verbal prompts, make learning engaging and relatable. Customize lessons effortlessly to the needs of the learner with Basic Directions, Expanded Directions, and Extension Questions for each photo card.
Beyond the basics like Brushing Teeth and Getting Dressed, this tool addresses more specialized target skills such as Straight/Curly Hair Care, Sneezing and Using a tissue, and Basic First Aid.
Companion Excellence: Webber Activities of Daily Living Tips and Teaching Companion
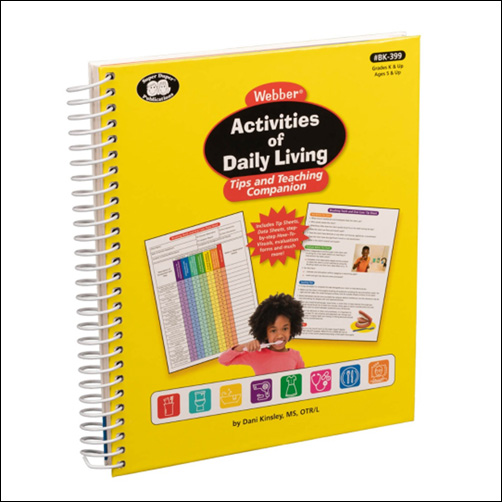
Enhance the power of the Webber Activities of Daily Living Photo Sequencing Cards with the Webber® Activities of Daily Living Tips and Teaching Companion. Packed with 188 pages, this invaluable resource aids in creating personalized lesson plans. Track progress with Data Sheets, implement effective strategies with Tip Sheets, and enjoy clear suggestions for enriching learning through How-to visuals.
At Therapro, our commitment to discovering impactful products is unwavering. We continuously seek tools that benefit therapists, teachers, families, and caregivers. Teaching essential life skills (ADLs) systematically and practically elevates the learning experience, catering to a diverse age range with varying skill levels. The Webber® Activities of Daily Living Tips and Teaching Companion paired with the Photo Sequencing Cards will unlock your student’s potential for independence!
Guest Blogger: Filomena Connor, MSOT, Retired