Tag Archives: Occupational Therapy

hand holding a pen and writing

Good Handwriting Starts At The Core!

What do the muscles of the core have to do with good handwriting? The simple answer is, a lot! The five main muscles of the core are the pyramidalis, rectus abdominus, external obliques, internal obliques, and transversus abdominis. These muscles are important for many day to day activities; for a deeper dive into this topic check out the free, recorded webinar Postural Control as a Base of Support for Upper Extremity Participation presented by Celine Rosati Skertich and Linda Merry. When it comes to handwriting, the core muscles are key to providing the stability from which our hands can work from. Without the stability provided by the core muscles, the arms would have difficulty positioning the hands and the hands would have difficulty holding writing utensils steadily. In order to make handwriting successful, it is important build a strong foundation from which students can work from! In this blog we will explore fun ways to develop and strengthen core musculature.

Alternative Seating

black kore wobble stool

Adding dynamic movement to seated tasks, is a great way to build core muscle strength. There are a multitude of alternative seating options that allow for dynamic movement while sitting. Examples include, The AlertSeat, Kore Wobble Chairs, and therapy balls. For more information on this check out the blog post, Flexible Seating Options in The Classroom & Home Learning Environments. It is important to remember that using alternative seating to strengthening core muscles should be done during fun, non demanding activities such as watching a movie or playing an easy table game.

Scooter Board Fun

Scooter Board

Scooter board activities are fun and engaging; depending on positioning, scooter board games can be a great way to strengthen either the front or the back core muscles.

Scooter board activities done while positioned on the stomach (‘superman position’; think belly down, arms and legs lifted and extended) are great for strengthening the extensor muscles. For a fun game try scooter board- bean bag tag. To play, players lay belly down on the scooter board with a set of beanbags on the scooter board directly under their chest (this encourages the extensor positioning). The goal of the game is to drop beanbags on opposing players’ backs. To do this they would use their arms to push their scooter to their opponent and then drop the beanbag on their opponent’s back.

Scooter board activities done while positioned on the back in the ‘tucked position’ (think knees in toward the chest, arms flexed, and head lifted) are a great way to target the flexor muscles. Scooter board monster stomp is a great example. To play, tape pictures of monsters (or anything of interest) to the wall, at a low level, 1-2 feet from the floor. The player lays on their back on the scooter board and assumes the ‘tucked’ position. The player’s teammate (or therapist) gently pushes the player to the first monster (a small push on the shoulders will usually do the trick!). The player’s job is to stomp the monster with his feet with enough force to propel him back to his teammate who will direct him to the next monster. Use caution here, this game takes a lot of strength! As soon as the player shows signs of fatigue (i.e. difficulty holding his head up) players should switch turns.

For more fun scooter board game ideas check out the Scooter Board Activities Fun Deck.

Balance Games

Balance Beam

Balancing requires core stabilization, a great way to strengthen those muscles! A simple game of catch becomes a core strengthening challenge just by standing on a wobble board or air filled cushion. A core workout can be done while completing an obstacle course simply by adding a balance beam component or stepping stones. Another great option is to explore the many different yoga balance poses!

Handwriting is an intricate process that requires more than just putting pen to paper; the core muscles provide the essential stability from which our hands work off of. Building a strong foundation, before we put pen to paper, will increase handwriting success and lessen frustration.

Activities That Build Fine Motor Skills

Fine motor skills are vital for many functional activities like zippering our coats, writing our name, and opening lunch containers. In this post we will take a dive into fine motor skill development and explore toys and activities that are appropriate for every skill level.  

Level 1

Fine motor skill development begins with the simplest hand movements; reaching, swiping, and gross grasp. As development progresses things like visually guided reach, purposeful release, and a better ability to hold medium and small sized objects develops. Poking, pointing, and the ability to use the thumb and first fingers to hold small objects are major milestones during this period. For children at this developmental stage activities that support the growth of the proximal muscles (core and shoulders) are important because it is these muscles that will support later fine motor skills. Activities that are done while on the tummy and activities that involve pushing and pulling are great choices at this stage.

Level 2

The next stage of fine motor development is marked by the ability to begin to use simple tools like crayons, scissors, and spoons. Activities like the Smartmax games and Lock Boxes are still great choices but now simple arts and crafts, lacing, and building activities can also be enjoyed. These increasingly more complex activities will lend to the development of the hand skills that are needed for greater independence with self care activities like feeding and dressing.

Level 3

The next stage of development is marked by the ability to complete tasks that require the separation of the two sides of the hand; the ‘power side’ and the ‘skilled side’. The power side of the hand is what we use when we engage in activities that require strength like opening a jar; actions like squeezing a toy or playing in putty or playdough are great ways to develop these muscles.  The skilled side of the hand is what we use when we engage in activities that require refined movements like writing, tying, or fastening a button.  To develop these muscles we must engage in activities that predominantly require the use of the thumb and first two or three fingers; actions like winding the small knob on a wind up toy, using the first fingers to grab, grasp or manipulate objects, and using one finger to push a button or lever are all great ways to develop these muscle. The development of the separation of the two sides of the hands is important for academic and self care tasks.

Level 4

Hallmarks of this stage of fine motor skill development include the skilled coordination between the two sides of the body and a mature pencil grasp. Games like Froggy Feeding Fun and activities with Wikki Stix or Playdough are still great but now activities that require refined skill can also be introduced.

Choosing activities that are developmentally appropriate will ensure not only engagement but will also promote continued fine motor skill development.

The Guide to the Perfect Sensory Space

The school and classroom provide a wealth of sensory information. Whether or not your students have special needs, processing sensory information can be a real challenge and also impact their behavior (e.g. difficulty paying attention, sitting still, working cooperatively with others, etc.).

Sensory processing difficulties arise when the brain can’t sort, organize, or integrate sensory messages. It’s like a “traffic jam” in the brain, with a few snippets of sensory information “stuck in circulation”. When this happens, certain parts of the brain don’t receive the sensory information they need to do their job1.

Providing a sensory space helps students to calm down and is a way to avoid disorganization. It’s a simple solution for improving social-emotional behaviors and beneficial for cognitive development.

What is a sensory corner?

A sensory corner is a designated area inside your classroom that is dedicated to supporting the sensory development of all students. It allows the child to take refuge there completely independently. Their withdrawal into this space helps them regulate their emotions and energy level in order to be more available to learn and interact with others.

A sensory space stimulates the primary senses, sight, hearing, smell, touch, vestibular and proprioception without creating overload because the senses are chosen on a voluntary basis.

The benefits of a sensory corner clock

The very preciouses moments, lasting at least 15 minutes, improves mood management by taking care of one’s emotions, increasing feelings of security, and help reduce agitation and apathy (lack of energy). No wonder they allow for the improvement in attention and quality of concentration.

Regulating our senses is important in maintaining our mental and physical well-being and self-esteem. The sensory space allows for wonderful one-on-one or supports a moment of guided learning, if the space is sufficient to accommodate the adult and the child.

How to design a classroom sensory space tools

  • It must be welcoming, comfortable and a defined space. The area has boundaries and is large enough to accommodate at least one seat (armchair, cushion, carpet, etc.).
  • Make sure the child will be isolated from ambient noise or the hallway.
  • Make sure you can adjust the light intensity or filter it. Some children will seek intense light while others will benefit from dim lighting.
  • Try to find a corner of the class where the student can have some privacy, out of sight of their peers. To enclose this space, you could use a curtain or furniture such as a bookcase or shelf.
  • Ideally, provide storage for the items or equipment that your corner will offer. The space should not be overloaded with things.

The objective is to be able to immerse yourself in a “cocoon-bubble” atmosphere in order to experience better sensory stimulation and enjoy all the benefits.

The effectiveness of a sensory corner has nothing to do with your allocated budget. It’s therefore not necessary to invest in expensive and sophisticated equipment.

What equipment should you provide in your sensory corner?

Your sensory corner can evolve over time and according to the needs of your students. Here are some suggested items that can stimulate the senses.

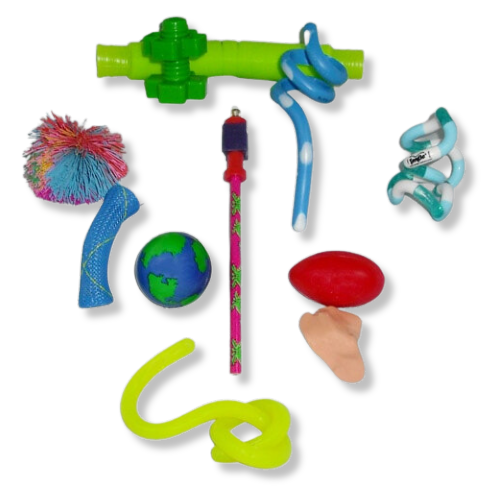
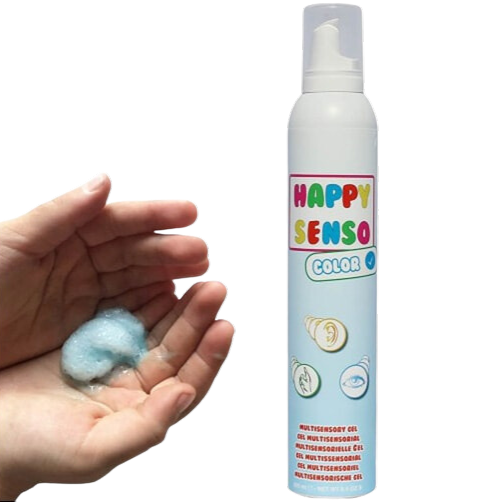
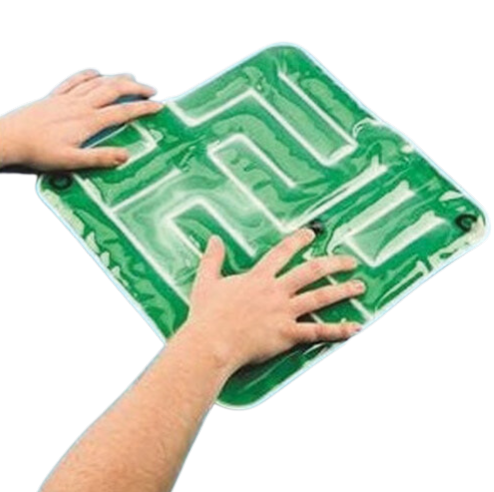
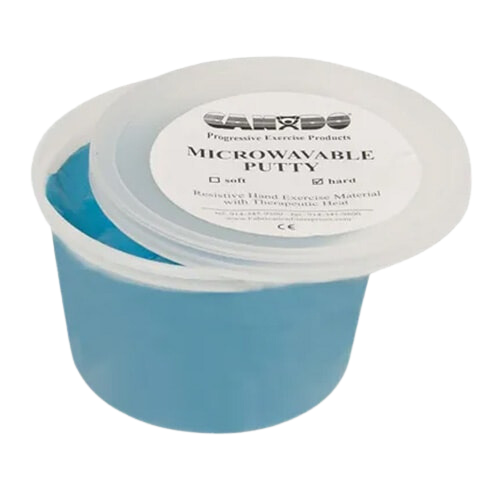
Touch

Smell

  • An accessory or cushion that you can put a few drops of essential oils on (ex: lavender)
  • Scented putty
  • Small cotton sachet (for the bottom of a drawer) with different smells

Sight

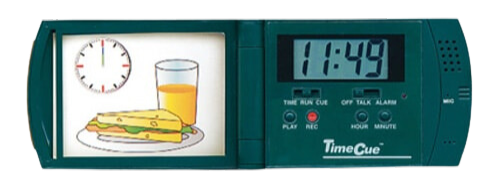
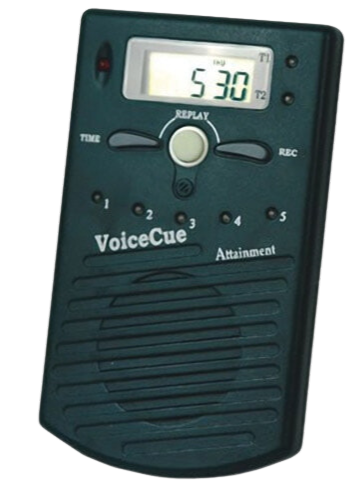
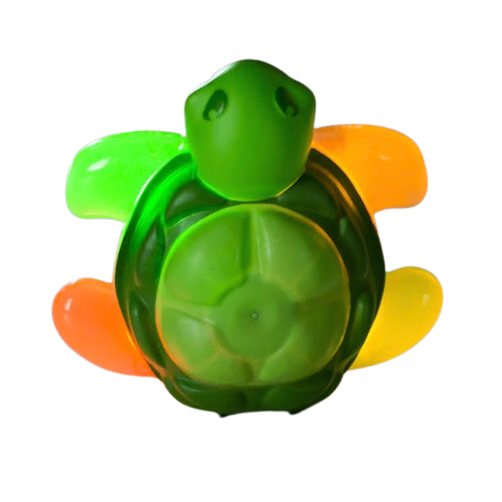
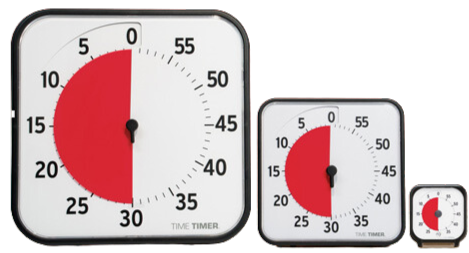
You could display or make available inspirational thoughts, relaxing music, pictures to color, breathing strategies, a timer to give child perspectives about time.

And the most important part

Once your sensory space has been established, take the time to show it to your students and teach them how to use it, when, and why so that they understand the purpose of this space.

It’s also important to display the tools and resources available in the space. Don’t hesitate, for example, to demonstrate breathing techniques in a large group so that they know how to repeat them when alone.

Having a space like this is a great way to implement social-emotional learning strategies in your classroom.

And now, play on!

-The manimo team

1Sensory Spaces in School 2021. National Council for Special Education, NCSE-Sensory Spaces in Schools