Trunks® is an engaging, interactive game developed by Diane Long, EdD, MOTR/L and published by Therapro. Adapting Trunks® is easy to do and allows for gameplay for all abilities!
How Do You Play Trunks®?
In this game, players move their bodies, make sounds, and perform actions from memory! Gameplay involves picking an Action Memory Card and performing the action depicted. Six categories of actions are involved:
- Musical You: Encourages creativity with motor actions that produce sounds.
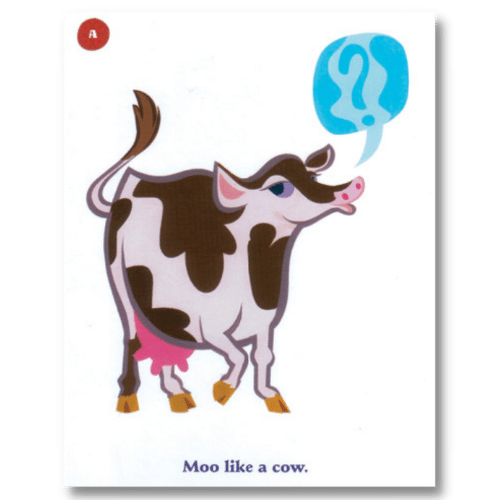
- Animal Sounds: Players mimic animal sounds.
- Animal Motions: Players move their bodies and demonstrate how animals move.
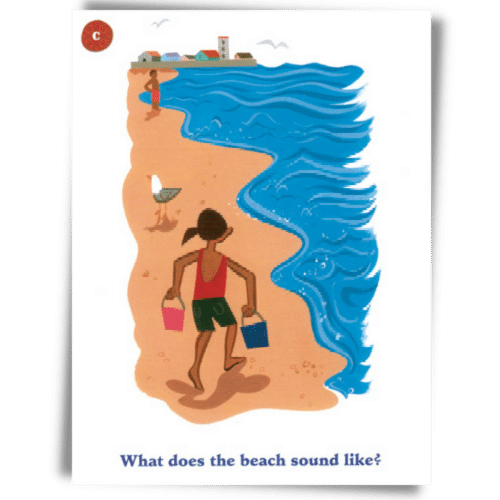
- Sound Like: Players recall and reproduce commonly heard sounds.
- Pretend To: Encourages imagination as players pretend to be like someone else.
- Show How: Involves a step-by-step demonstration of an action requiring the player to create an original sequence.


Trunks involves remembering and performing motor sequences. Players draw a card, look at the given action from the six categories previously mentioned, turn the card over and perform the action from memory. There are visual pictures as well as words on each card. On their next turn they would draw an additional card and perform both actions in their memory sequence, without looking at the cards. When an action is performed correctly, the player gets to keep their card and continue to work toward building a “trunk” (a series of 4 cards that, when combined, create an elephant’s trunk).
The ability to perform individual actions may differ from child to child. Furthermore, the ability to memorize subsequent actions or sequences may vary as well. For this reason the game was created with many variations that afford enjoyable game play for all ability levels.
What Skill Area Does Trunks® Target?
Working Memory! Working Memory is a necessity for engaging in a variety of everyday occupations, including learning, socializing, and task completion. Sequencing naturally falls under the broader category of working memory. Inherent to the game is the pairing of multi-modal forms of input (visual cues, reading cues, motor engagement, etc.). Read on to learn how to adapt and modify this game to target other skill areas!
How Can Trunks® Be Adapted?
Preschool. Adapting Trunks® for this age group is easy to do! Trunks® can be used to target motor planning development for kids in preschool. Choose a card from the deck and ask the kids to complete the action. Things like pretending to lift weights, leap like a frog, and pretend to lick a drippy ice cream cone are good activities to choose. You can also use the Sounds Like cards for the kids to use their voices to participate. This is also a great option when working on oral motor and language skill. What does a train sound like?, snort like a pig, and hoot like an owl are sounds that preschool kids should be able to perform. Having their peers guess the sounds and or actions turns it into a whole group game everyone can participate in. Pro Tip: Pre-picking cards targeting the specific skill or development level of the group is always a good idea!
Early Elementary Age. Working memory develops as kids age. Building a trunk of 2-3 trunk cards can make the game achievable for the younger crowd. The pictures on the trunk cards are helpful for the non-readers at this age (which many of them are)! Again preselecting cards can be key. If you are working with students who are nonverbal, take the sound cards out. If you are working with children who have limits in mobility, take the jumping and balance cards out. Pro Tip: For students struggling with motor planning, pre-teach and practice the actions on the cards prior to the whole group activity to help bolster confidence!
Later Elementary and Beyond. Target teamwork, this can be a difficult skill for some! Have the kids build the entire trunk, working in teams or as a whole group. Pro Tip: If you need an additional challenge, have the players remember the sequence both forwards and then backwards!
Other Helpful Tips
- Use as many trunk pieces or make as many trunks as you have time for! For a 10 min group use 2-3 pieces or just complete one trunk. If you have a longer amount of time, make multiple trunks!
- Use the extra action cards or don’t! You know the players best. Is the extra challenge needed or will it be too much?
- Playing the game Trunks is a great opportunity for co-treatments! Physical therapists, speech language pathologists, occupational therapists, and teachers all have skills that can be worked on during this game!
Trunks is a great option for targeting many key skill areas. It’s versatility makes it a great choice for a wide range of ages and ability levels. Check out Therapro’s handy guide, Gear Up for Games, for more great game adaptations and modifications.
Sarah Glovasky, M.S., OTR/L


