After babies discover how much fun it is to shake a rattle that fits comfortably inside the palm (at around 6 months of age), they gradually develop coordination between the index and middle fingers and thumb to grasp small blocks and eventually tiny cereal pieces. They also learn to use the index finger to point and push buttons. This is the beginning of what is called finger isolation – moving fingers separately. Refining finger isolation and the pincer grasp will enable the 2-3 year old child to control beads while stringing.
Some older children find it difficult to grasp tiny objects. They may use a “raking” motion to gather pennies inside the palm because they don’t have the coordination to pick them up using their fingertips. Difficulties may be related to decreased:
- Attention and experience engaging in fine-motor activities
- Hand strength and muscle tone
- Sensory awareness
- Abilities to plan and perform movements
Cause and effect toys such as Poppin’ Pals (by PlaySkool) and other “busy” toys with buttons have been around for a long time. In fact, this photo of my son exploring what his fingers can do was taken 25 years ago!
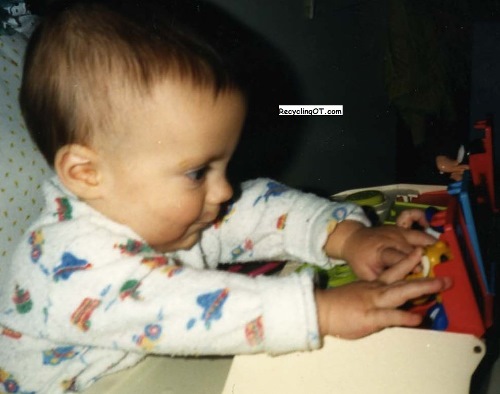
Pushing the buttons develops finger strength and motor control. These days, many toddlers learn to isolate their index finger by pressing icons on a smartphone or tablet. These devices do not develop finger strength and tactile learning. However, using the index finger to press, swipe and drag may be just what is needed to engage children with attention challenges. These are the kiddos who may prefer running around than stacking blocks. Controlling exciting visuals and sounds on a screen may initiate an interest in hand activities.
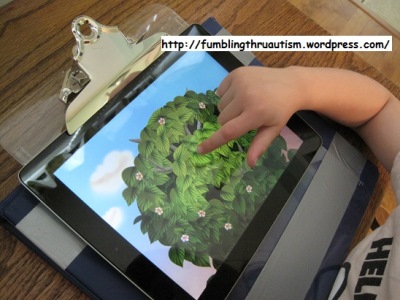
Developing Coordination Between Tripod Fingers
Children with autism, Down syndrome and other developmental disabilities often have decreased hand strength, muscle tone and sensory awareness. They benefit from toys that involve squeezing, pushing and pulling because these motions provide sensory input to the child’s muscles, joints and skin – while the child is having fun.
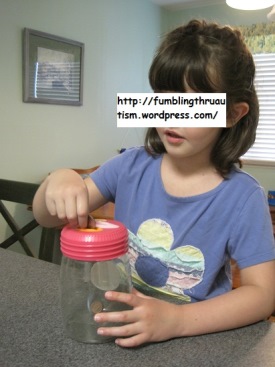
One very simple activity is to push objects through a small container opening. Start out with easy to grasp objects such as super balls or blocks. Next, introduce large poker chips, and then smaller Bingo chips. At first, be sure to make the opening large enough to ensure success, and then smaller so that the child uses force to push the objects through.
Occupational therapists love to see children push coins into piggy banks or any container with a slot because this requires coordination between the same fingers used to control a pencil – the middle and index fingers and thumb (sometimes called the tripod fingers).
Adapting for Success
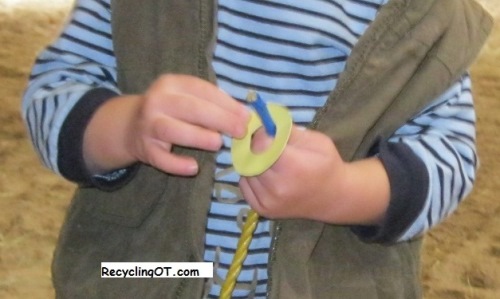
Instead of using string, this toddler is grasping thick cord that is easier to control. I cut the donut shapes from container lids and plastic bottles. The holes can be cut larger or smaller depending on the child’s abilities. This adaptation makes it easier for typically developing children to learn how to sequence the steps to stringing, but it is especially exciting to tell parents of a child with a coordination challenges that their child is able to string. Children who do not yet have the motor control to manipulate beads may benefit from the adapting stringing activity shown in the photo.
Developing Finger Dexterity
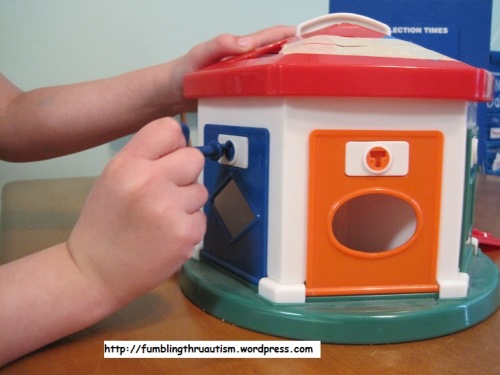
I have noticed that some children grasp objects loosely, using their fingertips with their wrist flexed (bent). Encourage these children to play with toys that require force – such as turning the key to find a toy, pulling apart pieces of Velcro, and opening snaps – to strengthen the “tripod fingers” and develop dexterity.
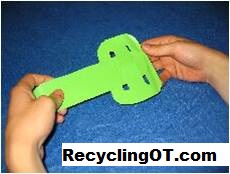
Many years ago I designed the simple weaving shape shown in this photo.
The rectangular shape is inserted in and out of the large notches in the shape shown on the right. This requires manipulating with the fingertips. The beauty of making this activity (out of detergent bottles) is that I could cut them to any size. I have used these in color matching and sorting tasks with children and adults of all ages.
Weavable Toys
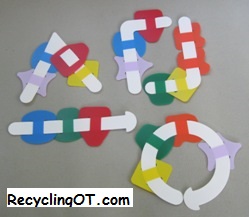
I have recently designed the “weaving belt” shown below. The small shapes woven onto a long plastic strip cut from a large round bottle (i.e. a bleach bottle) are perfect for small hands. Young children can weave them into color and/or shape pattern.

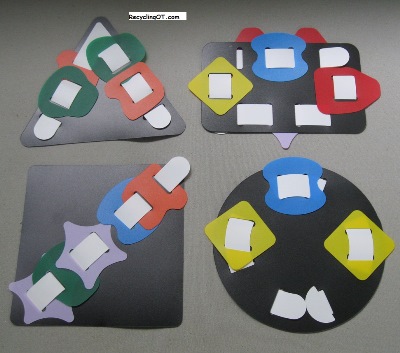
My clients have enjoyed weaving shapes so much, I decided to start manufacturing my patent-pending Weavable Toys: Basic Shapes.
These consist of
- 4 shape boards
- Strips to weave through the boards
- Shapes that are woven onto the strips to create designs.
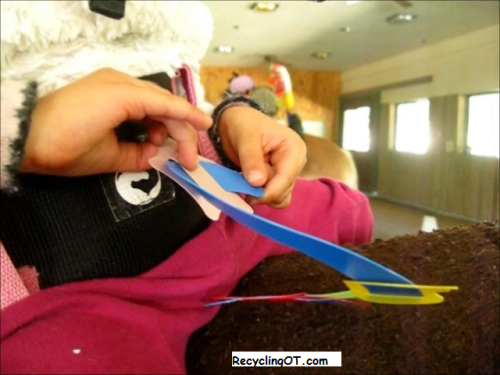
The little girl in the photo is attaching shapes onto a circular strip without using a board. She does not yet have the skill to weave the strip into the board. This is a great example of a toy that can be adapted for many different ability levels.
Children can:
- Put shapes on or off the strips without using the boards
- Weave or remove strips from the boards without using the shapes
- Weave shapes onto strips and into the boards to create designs (see photo)
- Follow visual patterns to develop visual perceptual skills.
Whether purchasing or making your own, stringing, lacing and weaving boards are wonderful activities that develop the finger dexterity children need to control a pencil.
* * *
Barbara Smith, M.S., OTR/L has worked with children and adults with developmental disabilities in a variety of settings over the past 30 years – including early intervention programs, public schools, special education collaboratives, day habilitation programs and community residences. She is the author of The Recycling Occupational Therapist, 2nd edition (RecyclingOT.com, 2012).
Check out Barbara’s website for information and resources at: RecyclingOT.com
Guest Blogger: Barbara Smith, M.S., OTR/L
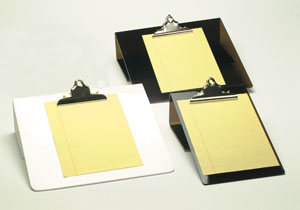 Here at Therapro we have a BIG focus on handwriting – from